How to Paint Galaxy Easy on Fabric
This post may contain affiliate links, which means we may receive a commission if you purchase through our links. Please read our full disclosure here.

{image source: Boohoo}
Galaxy print tee shirts are among my favorite trends of the past year: there is something so whimsical and retro-cool about colorful clouds and stars splashed across a tee. You can find a ton of handmade galaxy shirts, shorts, or even jeans on Etsy, but these items are usually pretty out of budget for the average college student.
Want to try the trend for cheap? It's easy to make a DIY galaxy shirt. This tutorial will show you how to create your own painted galaxy print t-shirtusing supplies you probably already have!
What you'll need:
- Black t-shirt
- Fabric Paint
- Sponge brushes
- Old toothbrush
- Plastic plate
- Cardboard
- Optional: Glitter
How to:
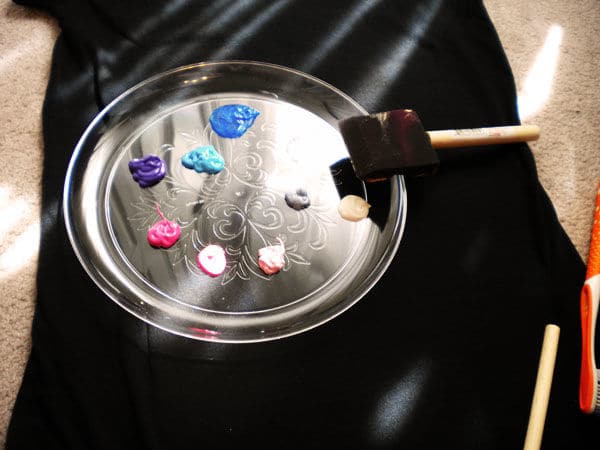
1. Prepare your materials by choosing your paints. I suggest choosing a color scheme based on 3 colors that touch each other on the color wheel. (I chose blue, pink, and purple.) This way, when you're making your shirt, you can easily mix the colors without creating brown or grey paint from the mix. You will also need white paint to create the stars. I also added white and black glitter so parts of my shirt would sparkle.
To start, squirt your paints onto the plate to make a palette, then place your piece of cardboard inside your shirt to prevent the paint from bleeding through both sides.
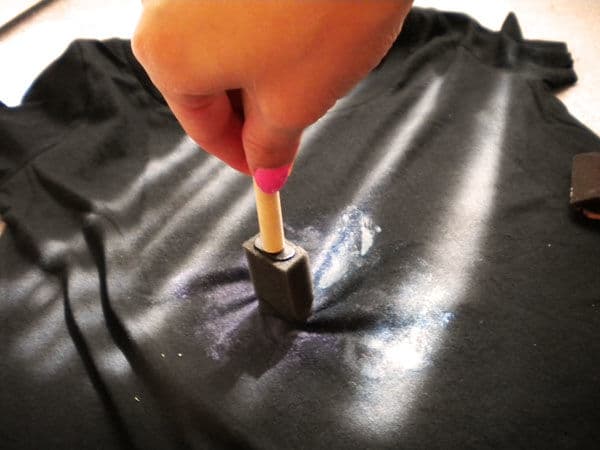
2. Begin dabbing paint onto your shirt. This part takes time – you have to make sure it looks like clouds, so a mixture of techniques is best. Use less paint to start, then build from there! I suggest dabbing the paint on, smearing a little, then twisting (as shown above). This well give you the best distribution of paint and most natural looking strokes. It takes some time and practice, so start small.
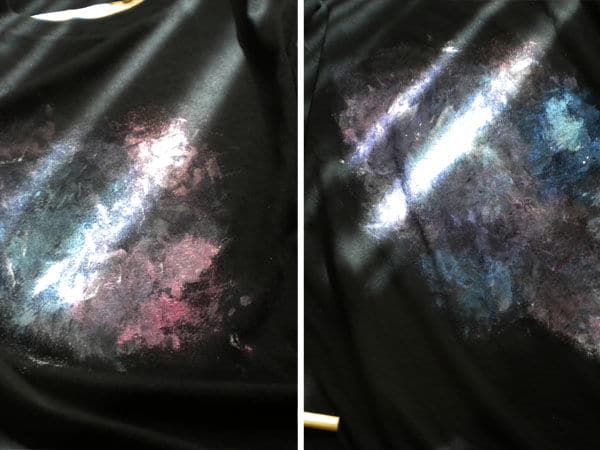
3. Continue adding paint until you get the shape and brightness you want. You may have to go over some sections several times to make them opaque enough. The most natural looking shape will be very irregular; I tried making a small circle at first, but I ended up spreading it so it didn't look overly perfect! Just keep adding paint until you get the look you want. There is not really a "right" way to do it.
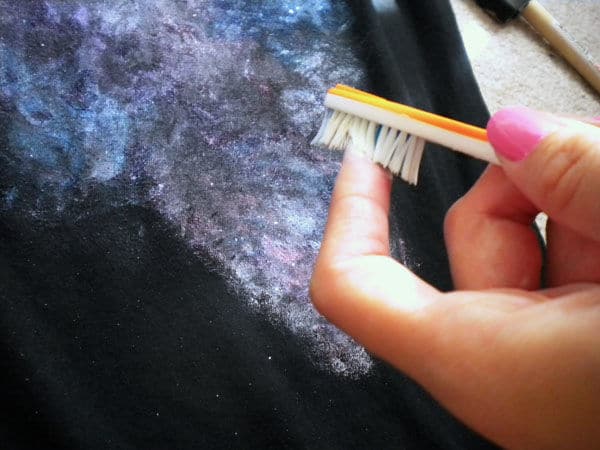
4. Add stars to your galaxy! Dip your toothbrush into the white paint, then flick the paint onto the shirt. This can be messy, so if you're worried about the surface you're working on, you may want to put down newspaper or do this outside. It helps if you fling the toothbrush at the same time you flick it (this will give you bigger splatters). Continue flicking until you get the amount of stars you want.
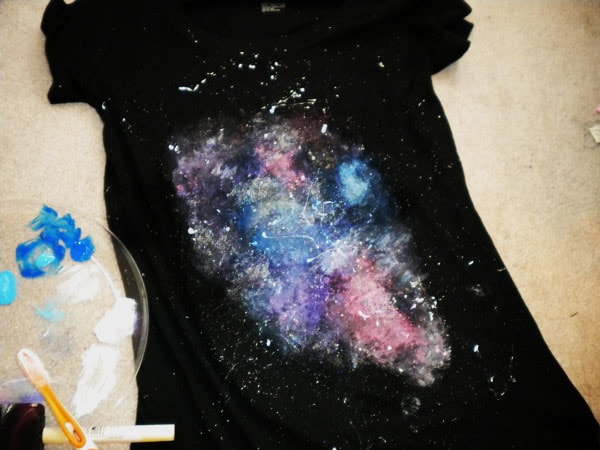
5. Let your shirt dry. Once it dries, you may find you want to add more paint. I added more color and glitter to mine once it dried. The second coat goes on much thicker since you already have paint on the part you're painting, so the shirt doesn't absorb as much. Just repeat the same process. Make sure you let your paint dry the full time that the package asks so you don't smear any paint.

Voila! There you have it – your very own galaxy shirt, at a very affordable price. This DIY does take some patience when you're learning how to apply the paint, but once you get the hang of it, you're golden. You can apply this technique to shorts, a skirt, or even a scarf – it's up to you!
What do you think?
Do you like the galaxy print trend? Will you be making your own celestial t-shirt? Have another idea for an amazing DIY? Tell us in the comments!
Source: https://www.collegefashion.net/fashion-tips/diy-fashion-painted-galaxy-t-shirt/
0 Response to "How to Paint Galaxy Easy on Fabric"
Post a Comment